Prerequisites
Ports required:
80,
443
Table of Contents
Vichan is libre imageboard software written in PHP. It’s a simple, minimalist social media solution, similar to popular sites like 4chan.
Installation
This guide runs you through the initial setup process for Vichan. This is a very barebones install, with no index page. The additional functionality seen on most popular board sites can be replicated utilizing “Themes”.
Begin by installing the packages required for Vichan to function properly:
apt install php-{fpm,bcmath,gd,pdo,mbstring,mysql,redis} composer mariadb-server imagemagick graphicsmagick gifsicle
Installing Vichan with Composer
Clone Vichan from its repository to a directory, where it will be served from:
git clone https://github.com/vichan-devel/vichan.git /var/www/chan.example.org
You can then utilize composer to install the PHP scripts needed by Vichan:
cd /var/www/chan.example.org
composer install
Configuration
File Permissions
Make sure that the www-data user has full file permissions over the Vichan directory:
chown -R www-data:www-data /var/www/chan.example.org
Database setup
Vichan requires a MySQL database to function properly. This can be easily setup by running the following commands:
Begin by ensuring mysql is running:
systemctl start mysql
Enter the MySQL prompt:
mysql
Create the Vichan user…
CREATE USER 'vichan'@'localhost' IDENTIFIED BY 'your_password';
Create the Vichan database, and grant the Vichan user the permissions…
CREATE DATABASE vichan_db;
use vichan_db;
GRANT ALL ON vichan_db.* TO 'vichan'@'localhost';
Make sure to remember the Vichan user’s username and password!
Webserver setup
For Vichan to be served over a specific domain (with TLS), a specific LEMP configuration is required. This guide will utilize NGINX:
server {
    listen 80;
    listen [::]:80;

    root /var/www/chan.example.org;
    index index.html;
    server_name chan.example.org;

    location / {
        try_files $uri $uri/ =404;
    }

    location ~ \.php$ {
        include snippets/fastcgi-php.conf;
        fastcgi_pass unix:/var/run/php/php-fpm.sock;
    }
}
HTTPS with Certbot
You can then use the certbot tool to get and setup the appropriate TLS certificate:
certbot --nginx -d chan.example.org
This will automatically reconfigure your site’s NGINX file to use port 443 with HTTPS.
Web Configuration
The recommended way of setting up Vichan is through the integrated web installer. Ensure you’ve configured your webserver correctly so you can access the install.php page.
Firstly, ensure that the PHP FastCGI Process Manager is started:
Please note: The
8.2number is your php version. The systemd daemon will always be named after the current version ofphp-fpminstalled, so make sure to run this command with the appropriate version number for your php!
systemctl restart php8.2-fpm
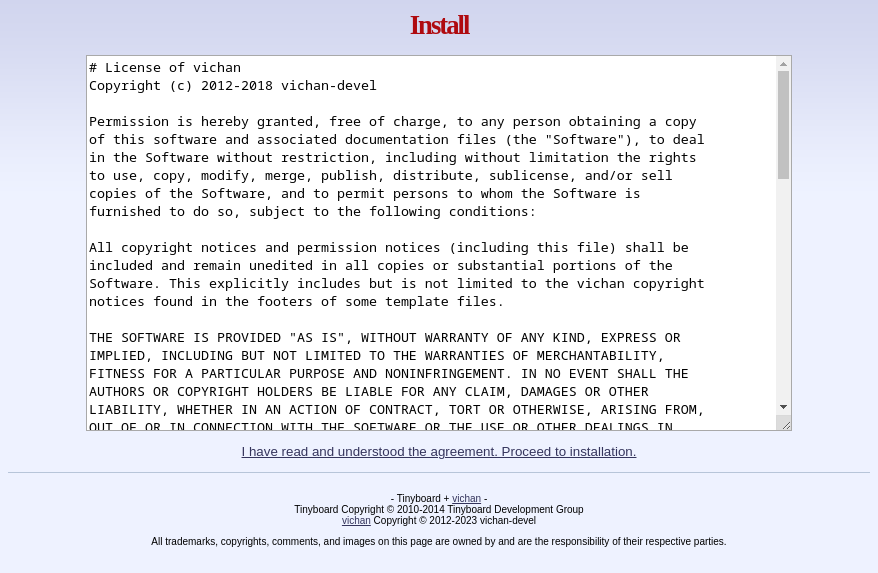
Then, simply navigate to https://chan.example.org/install.php and click Proceed to installation:
Checking Environment
The installer will then navigate to this check page.
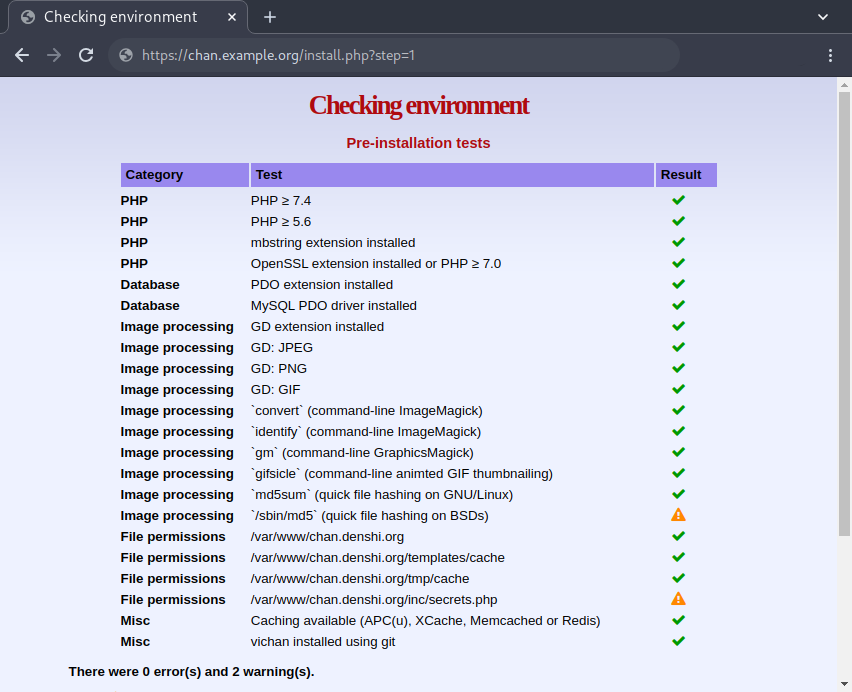
Don’t worry about the md5 and inc/secrets.php requirements. The md5 requirement is only for BSD operating systems, and generating the secrets will be handled by the installer.
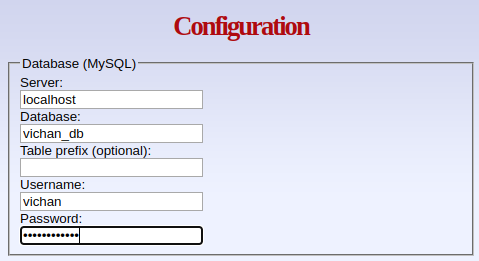
Database
The installer will then travel to a generic “Configuration” page, where you’ll be able to enter various details. Enter the correct database information, including the MySQL username, password and database you plan to use for Vichan:
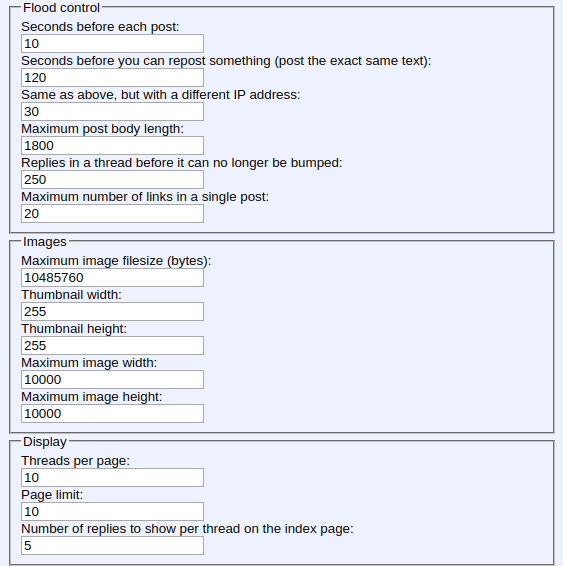
Extra Options
Here you can configure other parameters, like filesize limits for images, thread flood control and display options like “Threads per page”:
Finishing Installation
Vichan will then display an “installation complete” message:
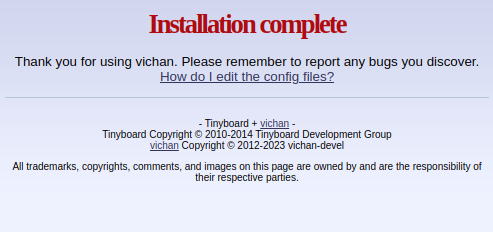
Note that navigating to chan.example.org will yield an error. This is because there is no index configured by default. This can be added later as a plugin.
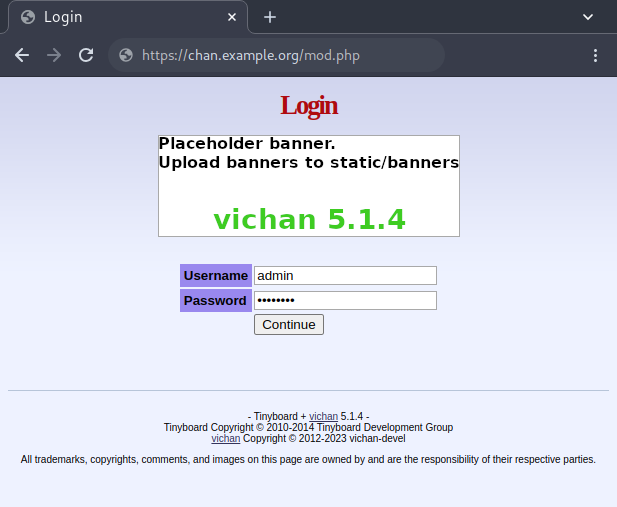
Setting the Moderator Password
After Vichan is done installing, navigate to chan.example.org/mod.php and login with the default credentials, admin and password:
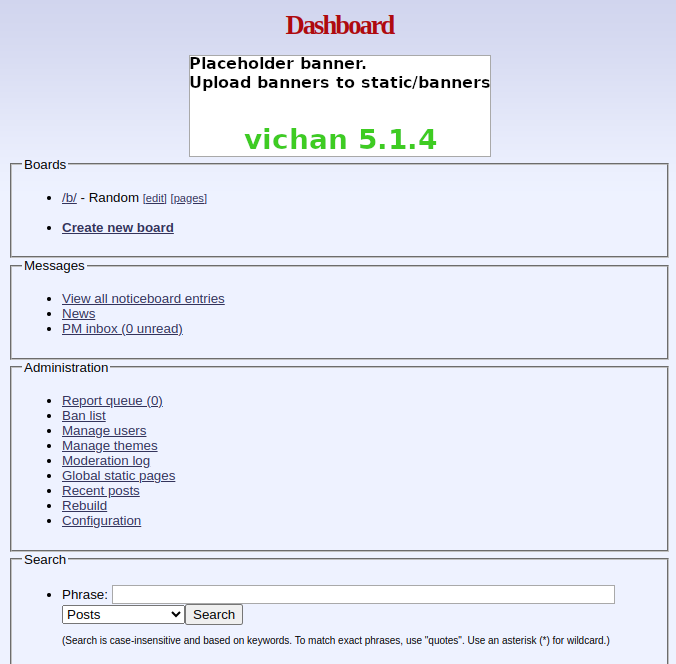
Once logged in, you’ll see the moderator page as follows. Here you can create boards, configure the website globally, delete posts and more.
To configure the password, click on Manage users:
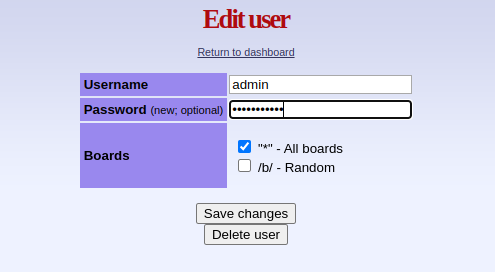
Once on the manage users page, click “edit” next to the admin user:
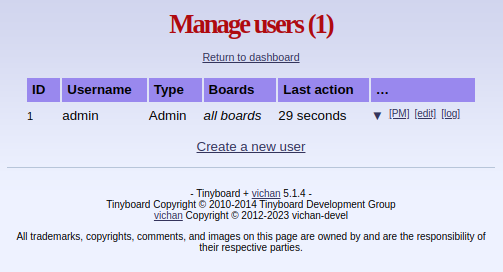
On the edit page, you can change the admin user’s username and password.
Congratulations! You’ve performed a base install of Vichan!