Prerequisites
Ports required:
64738
Table of Contents
Mumble is a light and high-quality libre voice chat protocol. You can self-host your own Mumble server and control your conversations.
Installation
The Mumble server software, “murmur”, is available in the Debian repositories:
apt install mumble-server
Configuration
The Mumble server is configured in /etc/mumble-server.ini. Here you can customize information, like the welcome message:
; Welcome message, in HTML, shown to users when they join
welcometext="<b>Hello there, and welcome to my <i>Mumble server!</i></b>"
If you wish to run Mumble on a different port rather than the default, this can also be changed:
port=64738
In addition, you can also customize the number of users that can connect to your server in total:
users=30
Certificate
If you plan on running your mumble server under a specific domain, like example.org, you can utilize a previously-obtained certificate (like the one used for NGINX with certbot) to encrypt connections on your server with a valid TLS name. Not including this doesn’t make Mumble unencrypted, but it does ease the process for anyone running their server under a specific domain as users won’t get a “failed certification” error.
Begin by copying existing certificates to a location where the mumble-user can access them:
mkdir -p /usr/share/certs/example.org
cp /etc/letsencrypt/live/example.org/fullchain.pem /usr/share/certs/example.org/
cp /etc/letsencrypt/live/example.org/privkey.pem /usr/share/certs/example.org/
sslCert=/usr/share/certs/example.org/fullchain.pem
sslKey=/usr/share/certs/example.org/privkey.pem
Make sure to give appropriate file permissions to mumble-user:
chown -R mumble-user:mumble-user /usr/share/certs/example.org
Public Directory
If you wish, you may publish your Mumble server to the public server directory accessible in the default Mumble client:
registerName=MyMumble
registerPassword=secret_password
registerUrl=http://www.mumble.info/
registerHostname=example.org
registerLocation=US
Running as a Service
Simply restart the systemd service for Murmur to start the server:
systemctl restart mumble-server
And with that, you’ve done it! You’re running your very own Mumble server.
Using your Mumble Server
Once you’ve setup your Mumble server, you can use it by connecting to its IP address (or domain name pointing to the same server) through any Mumble client.

Important Note: When starting Mumble for the first time, you will be asked to create a certificate. Do not lose this certificate, as this is practically your Mumble “identity”. If you register a custom user as an admin on your server, you’ll need the corresponding certificate to gain the administrative privileges. Once again, don’t lose it!
Registering as an Admin
By default, any Mumble user named SuperUser connecting to your server will have administator privileges. To set the special admin password used by this user, simply run the following on your server:
murmurd -supw super_secret_password
If you want to make a different user an admin, the steps are slightly more complicated. Begin by connecting as a regular user to your server:
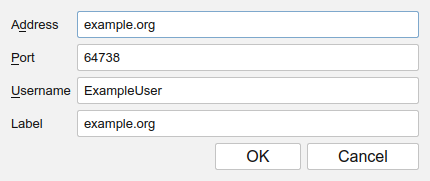
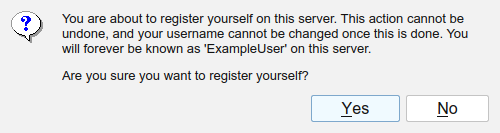
Right-click on your user, and select “register”. You will then be met with the following prompt, where you should click “Yes”:
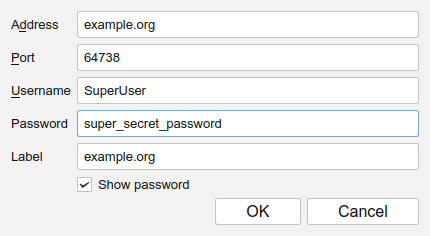
Now disconnect from the server and change your username in the server’s settings, setting it this time to SuperUser. You will be met with a prompt for a password, where you should enter the password you already set with the murmurd -supw command:
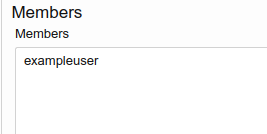
Now, as the SuperUser, right-click on your channel name and click “Edit…” This will automatically open the “Groups” dialog, where you need to select the admin group from the drop-down menu.
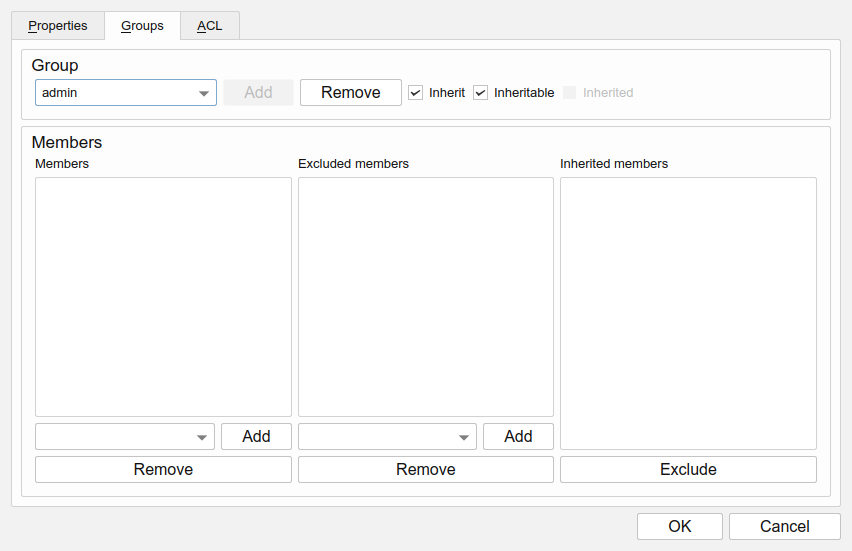
After selecting the correct group from the drop-down menu, simply add your previously registered username to the admin group.
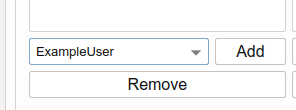
You’ve successfully added your custom username to the admin group!